More of what you love. Less retail markup.
Plan kitchen task lighting with a countertop sample test, fixture comparison and coordinated cabinet, control and electrical schedule.
Plan my kitchen with a free design & quote
In this guide
Good under-cabinet lighting helps you see the work in front of you without turning the kitchen into a row of visible light sources. For a San Diego kitchen remodel, the most useful comparison is not simply “LED or no LED.” It is how a proposed fixture lights your counter, looks from a chair and works with the cabinetry.
Make that decision while the cabinet details are still being drawn. A light rail, recessed channel, connection route or power component can affect the finished cabinet package. Leaving the entire question until installation makes it harder to achieve a deliberate result.
Start with the light already in the room
San Diego lighting contractor Right Way Lighting separates recessed, pendant and under-cabinet lighting in its published kitchen guidance, and emphasizes evaluating existing light when considering additional fixtures. Use that local approach to organize your brief: room light, work light and decorative light do different jobs. San Diego kitchen-lighting guidance.
Photograph the kitchen during the times you use it most. Identify the counter where you chop, read a recipe or prepare coffee. Note whether your body casts a shadow over the work when only ceiling lights are on.
This is an observation exercise, not an electrical assessment. A lighting professional can turn those observations into an appropriate fixture and control plan.
Compare assemblies, not isolated strips
Tape lighting is part of a system. The tape, channel or mounting arrangement, diffuser where specified, power supply, connections and controls must work together. A linear fixture packages its components differently and has its own installation and linking requirements.
Kichler's cabinet-lighting information distinguishes lighting above, within and beneath cabinetry, and describes LED tape used with aluminum channels. That is a useful starting point for comparing complete assemblies rather than treating a roll of tape as the entire purchase. Manufacturer cabinet-lighting overview.
Ask each proposer to name all included components. “LED under cabinets” is too broad to compare two quotes or confirm that the finished cabinet details will conceal the intended system.
Choose a direction with this matrix
| Situation in your design | Assembly to examine | Main review question |
|---|---|---|
| Long, visually continuous cabinet run | Tape with a compatible channel system | How will corners, connections and interruptions appear? |
| Several separate cabinet sections | Appropriately sized linear fixtures or separate tape runs | Will the illuminated areas feel consistent? |
| Shallow or highly visible cabinet underside | A low-profile, coordinated assembly | Can the light source be concealed from seated views? |
| Cabinet interiors and display shelves | A separately designed display-lighting system | Does it illuminate objects without distracting glare? |
| Existing cabinets retained | A system suited to the actual underside and access | What will be visible after installation? |
The table narrows the conversation; it does not select a product. A qualified professional should confirm compatibility, electrical requirements and suitability for the intended location.
Arrange a countertop sample test
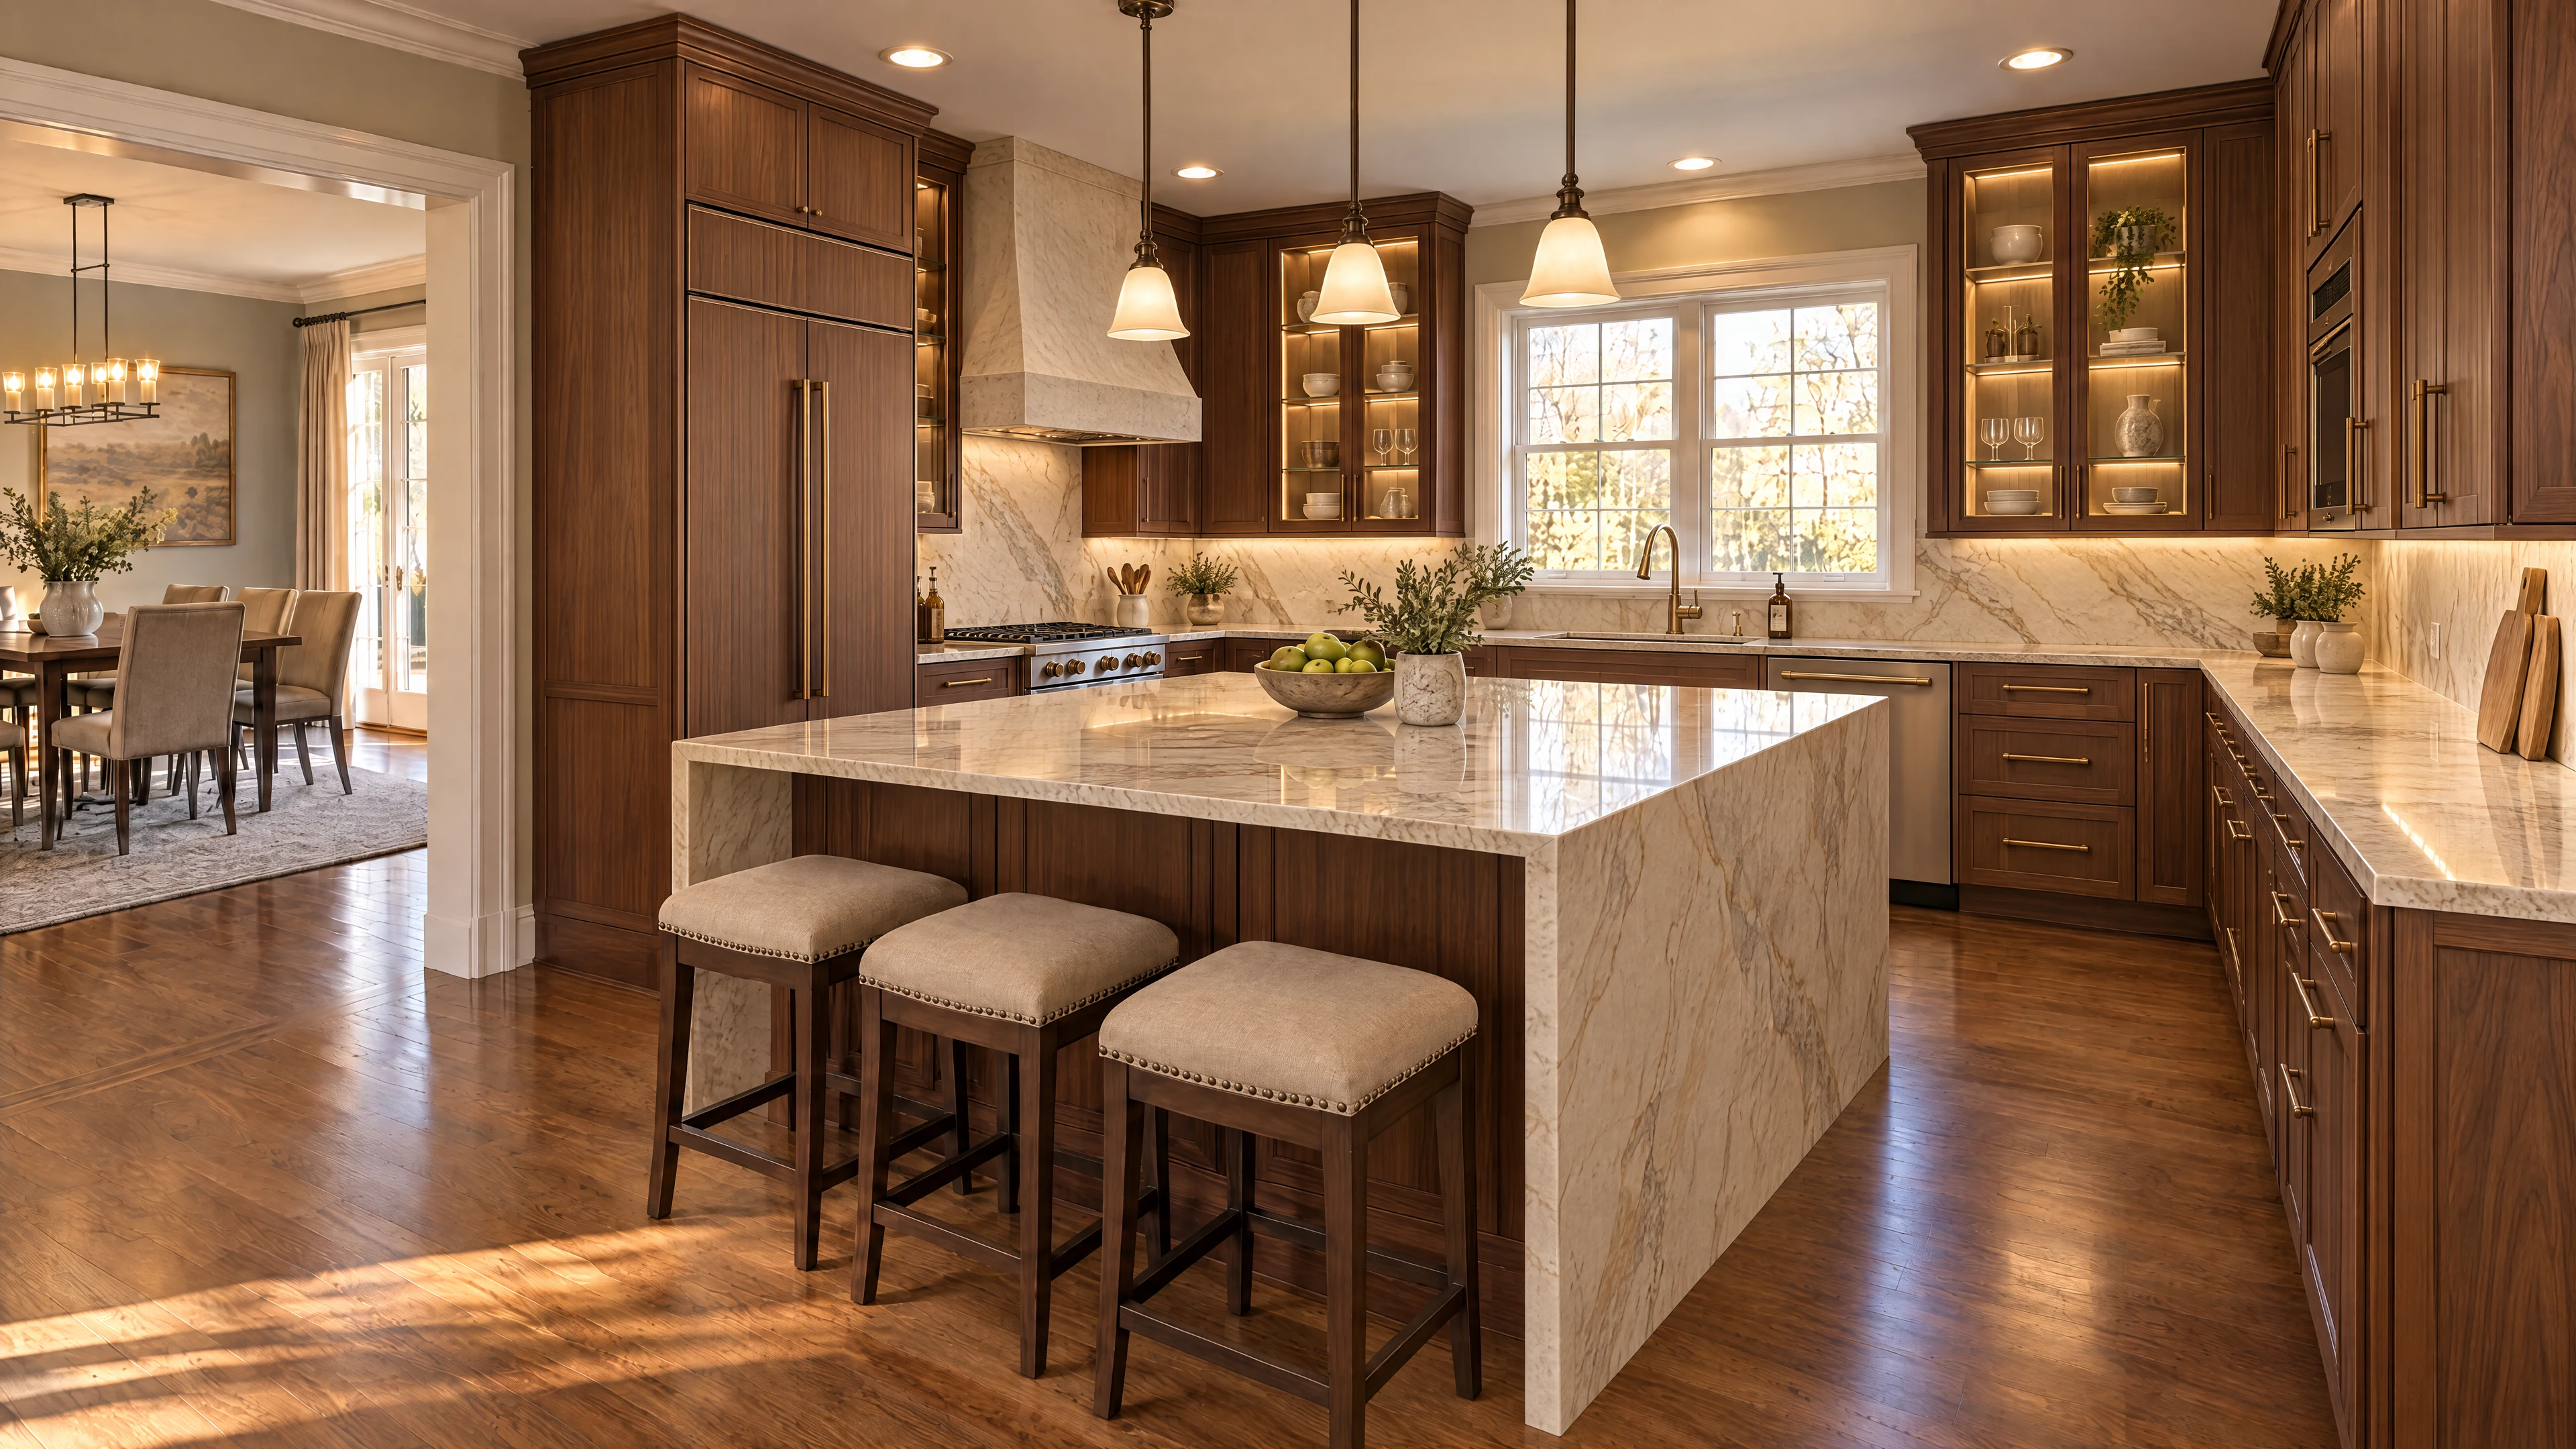
Bring the actual cabinet finish, countertop sample and backsplash sample to a lighting discussion. Ask to see a representative working fixture or tape-and-channel assembly, not only a lamp aimed at the materials.
Look at the counter from a normal standing position, then from a stool or nearby chair. Watch for reflections of individual light points, a bright strip in your sightline or a pattern of brighter and darker areas.
Move a bowl and cutting board onto the sample surface. Does the light help you see the task? Does a polished surface create a distracting reflection? Do the cabinet and backsplash colors still look comfortable together?
A sample test is especially useful when the countertop and backsplash have very different sheen levels. The same light can look quite different on adjacent finishes, so approve the combination rather than each sample independently.
Treat color and brightness as separate decisions
Ask what color-temperature options the proposed model provides and whether the setting is fixed, selectable or adjustable. Then ask about brightness and dimming. A warmer-looking light is not necessarily a dimmer light.
Compare under-cabinet lighting with the nearby fixtures you plan to retain. You may prefer a consistent appearance or an intentional contrast, but it should be something you have seen and chosen.
If the proposal includes adjustable color, ask how the control works and whether all connected runs change together. If it includes dimming, have the electrical professional verify the specified control's compatibility with the complete system.
Do not rely on the word “dimmable” alone. Request a demonstration of the intended combination where practical, including the lower settings you expect to use in the evening.
Resolve the cabinet details before ordering
Have the designer draw the light location relative to the cabinet front, underside, backsplash and countertop. Include any concealing trim and show how it continues—or stops—at an exposed end.
Ask where power supplies and connections will be located and how they remain accessible for service. A beautiful installation should not require damaging finished cabinetry to reach a replaceable component.
At corners or interruptions, clarify the visual result. Will the lighting continue past a range hood, stop at a window or resume in a separate run? Will adjacent cabinet bottoms line up? What happens where there are open shelves instead of wall cabinets?
These questions belong on the cabinet and lighting drawings together. Electrical design and installation should remain with the appropriate qualified trades.
Create a simple lighting schedule
For each run, record its purpose, length or cabinet references, fixture family, finish, color setting, control group and visible trim. Add the responsible person for cabinet preparation, electrical provision and final setup.
Then divide the quote into product components, cabinet modifications and electrical work. Check whether the controls, channels, diffusers, connectors and required power components are included rather than assumed.
Use a separate entry for interior display lighting. It may operate differently from the counter task lights, and combining the two automatically can produce an evening setting you did not intend.
Bring light into the full kitchen plan
Use HIBC's San Diego kitchen design guide to connect the lighting schedule with cabinet, countertop and appliance decisions. Then request free kitchen design and discuss product quotes before joining.
HIBC is an online buying club, coordinates design through independent showrooms and adds no HIBC product markup. It is not an electrical contractor or installer. Gold membership is $4,995 initially; the optional $495 annual renewal is purchased separately with no automatic charge. Lighting products, cabinetry, delivery and professional installation are separate project costs. Start with an approved sample combination, then compare the complete proposed kitchen.
