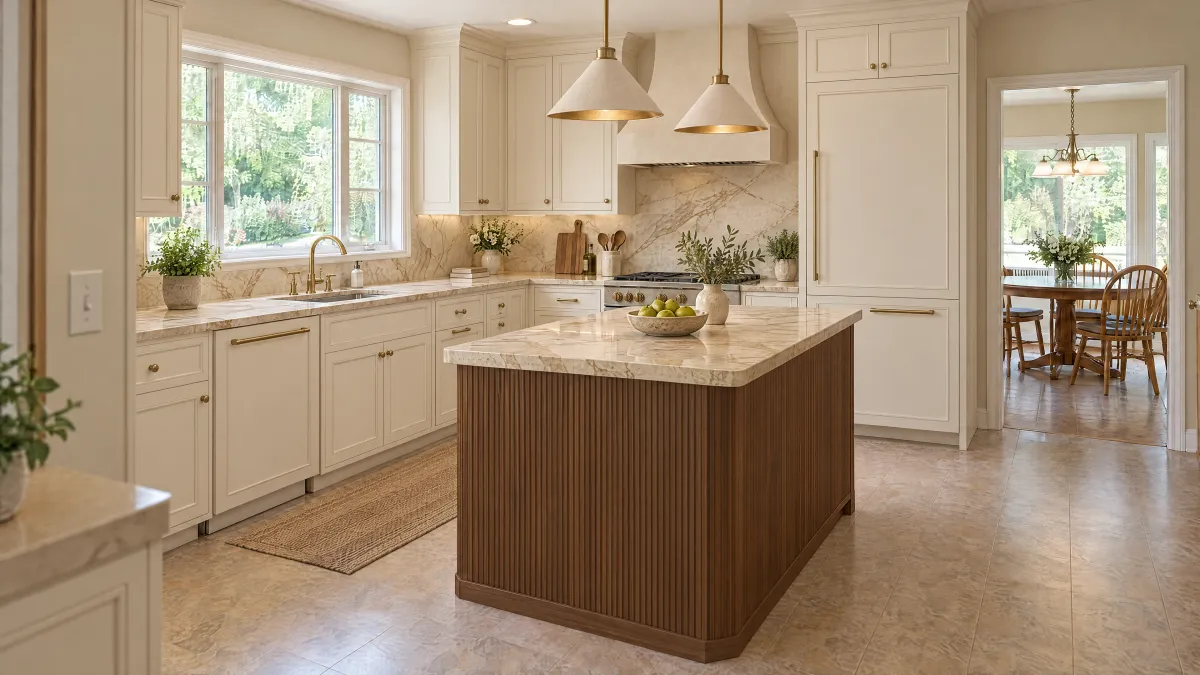
Start with the items left beside the sink
In a Boise kitchen plan, the panel in front of the sink may look like an opportunity for extra storage. Start by identifying what you would put there: a particular scrub brush, sponge or other small item. A tip-out tray has a different job from the larger cabinet below the bowl. Its value depends on whether those daily items can be reached, returned and cleaned up comfortably.
Compare the tray with keeping a fixed front and storing those items elsewhere. If you are changing an existing cabinet, ask the provider to assess the front and cabinet before treating them as reusable parts. Do not remove or alter the panel merely to test an idea.
Specify the whole front assembly
The Kitchen Craft brochure shows a tilt-out sink tray for brushes and sponges on page 7. That example identifies the storage type; it does not establish that a tray fits your sink cabinet or that the photographed configuration is offered in your selected line.
Have the cabinet provider identify the front, tray and hinges as one proposed arrangement. Ask the installer to check the actual sink bowl and any nearby components against the movement of that arrangement. A front that looks wide enough when closed is not a fit confirmation.
Review opening, retrieval and cleaning
Request a provider-led demonstration or an explanation tied to the selected parts. Check the opening movement, the usable tray space and how the intended brush or sponge is removed. Ask how the tray is cleaned according to its instructions and whether any component is intended to be removed for that task. Do not force a display or improvise a release method.
Keep care expectations separate from appearance. Ask for the selected tray's care instructions and the cabinet finish requirements. A concealed storage location is not evidence that items dry faster or that the cabinet is protected from moisture. Choose based on the documented product and the routine you are willing to follow.
Compare the complete supplied-and-fitted tray arrangement with the fixed-front option. Include any accepted front change, hardware and fitting work rather than comparing a loose accessory price with a finished cabinet. Add the decision to your Boise kitchen brief. If other work changes, have the project professional confirm the requirements for the actual property and scope.
Your decision worksheet
| Check | Record before choosing |
|---|---|
| Intended items | Name the actual small items and the current storage problem. |
| Existing or new front | Identify the proposed panel and any professional reuse assessment. |
| Complete assembly | Record tray, hinge and front identifiers, plus the selected sink. |
| Working movement | Obtain provider confirmation of opening, retrieval and nearby clearances. |
| Cleaning routine | Keep the applicable care and removal instructions with the choice. |
| Complete alternative | Compare the fitted tray package with keeping the fixed front and another storage location. |
A worked buying example
Hypothetical example: a homeowner wants a tip-out for a long dish brush. The proposed tray opens beside the selected sink, but the brush cannot sit in the usable tray space as intended. The provider compares a different supported tray with keeping the fixed front. The homeowner chooses another storage location rather than accepting an accessory that does not solve the original task.
Questions to settle before ordering
Does a false-front panel mean a tip-out tray can be fitted?
No. Have the provider assess the actual front, cabinet, sink and proposed hardware. Keep any required modification and its responsible installer explicit.
Is a tray automatically included with the sink base?
Check the order. Ask for the tray, hinges, front and fitting work to be identified as included, optional, separately supplied or not selected.
